Node.js HTTPS 설정하기
Node.js HTTPS 설정하기
SSL 인증서를 이용하여 Node.js 서버에 HTTPS를 설정하는 방법에 대해 알아보겠습니다. 주로 사용하는 인증서의 파일 포맷에는 여러 종류가 있는데 정리하면 다음과 같습니다.
- .pem (Privacy Enhanced Mail)
개인키, 서버인증서, 루트인증서, 체인인증서 및 SSL 발급 요청시 생성하는 CSR 등에 사용되는 포맷.
거의 대부분의 시스템에 호환되는 표준 포맷이며 Base64로 인코딩된 ASCII 텍스트. - .crt
주로 유닉스/리눅스 기반 시스템에서 인증서 파일로 사용하기 위한 확장자.
대부분 PEM 포맷으로 구성. - .cer
주로 Windows 기반 시스템에서 인증서 파일로 사용하기 위한 확장자.
대부분 PEM 포맷으로 구성. - .csr (Certificate Signing Request)
SSL 발급 신청을 위해 CA에 제출하는 요청서 파일로 사용하기 위한 확장자.
대부분 PEM 포맷으로 구성. - .der (Distinguished Encoding Representation)
사설, 금융 등의 특수 분야 및 구형 시스템 등에서 사용되는 포맷.
바이너리 포맷으로 구성. - .pfx / .p12 (Personal Information Exchange Format)
주로 Windows IIS 기반 시스템에서 인증서 파일로 사용하기 위한 확장자.
개인키, 서버인증서, 루트인증서, 체인인증서를 모두 담을 수 있어서 SSL 인증서로 사용시 상당히 유용.
PKCS#12 바이너리 포맷으로 구성. - .jks (Java Key Store)
.pfx처럼 개인키, 서버인증서, 루트인증서, 체인인증서를 모두 담을 수 있어서 SSL 인증서로 사용시 상당히 유용.
Java 기반의 바이너리 포맷으로 구성.
1. SSL 인증서 발급하기
SSL 인증서 발급에는 다양한 방법을 이용할 수 있는데 대표적으로 많이 사용되는 openssl과 mkcert를 이용한 방법에 대해 알아보겠습니다.
1.1. openssl을 이용한 SSL 인증서 발급
Homebrew를 이용하여 openssl을 설치해줍니다.
$ brew install openssl

Updating Homebrew...
==> Auto-updated Homebrew!
Updated 1 tap (homebrew/core).
==> Updated Formulae
Updated 4 formulae.

==> Downloading https://ghcr.io/v2/homebrew/core/openssl/3/manifests/3.0.0
######################################################################## 100.0%
==> Downloading https://ghcr.io/v2/homebrew/core/openssl/3/blobs/sha256:ec819e57038f4ae11e3a3e083ec1d37c174e44fce08830bda22e7f6d77f063df
==> Downloading from https://pkg-containers.githubusercontent.com/ghcr1/blobs/sha256:ec819e57038f4ae11e3a3e083ec1d37c174e44fce08830bda22e7f6d77f063df?se=2021-09-28T05%3A55%3A00Z&sig=OgDpZmpUdmKLJR1mVh1cZ8dLX7IJ9SAIwRgK%2F%2BGlAIE%3D&sp=r&spr=https&sr=b&sv=2019-12-12
######################################################################## 100.0%
==> Pouring openssl@3--3.0.0.catalina.bottle.tar.gz
==> Regenerating CA certificate bundle from keychain, this may take a while...
==> Caveats
A CA file has been bootstrapped using certificates from the system
keychain. To add additional certificates, place .pem files in

...
설치가 완료되면 CA(Certificate Authority) key 파일을 생성해줍니다.
$ openssl ecparam -out rootca.key -name prime256v1 -genkey$ cat rootca.key
-----BEGIN EC PARAMETERS-----
BggqhkjOPQ1234==
-----END EC PARAMETERS-----
-----BEGIN EC PRIVATE KEY-----
MHcCAQEEIJKfObpDQ3beG4nH4FzZt7IJF12+zG2PGodSzEr9twAnoAoGCCqGSM49
AwEHoUQDQgAExr6QHpch6l9U2xeANPu8KF/sn6ck+YjLuq+nDHRKKL7GHxUmetjO
cGbO2CxkIlFMm6OFkjLtVMAkIUPk0R1234==
-----END EC PRIVATE KEY-----
다음으로 CSR(Certificate Signing Request) 파일을 생성해줍니다. CSR 파일은 인증서 발급에 필요한 정보를 담고 있습니다.
$ openssl req -new -sha256 -key rootca.key -out rootca.csr

You are about to be asked to enter information that will be incorporated
into your certificate request.
What you are about to enter is what is called a Distinguished Name or a DN.
There are quite a few fields but you can leave some blank
For some fields there will be a default value,
If you enter '.', the field will be left blank.
-----
Country Name (2 letter code) [AU]:KR
State or Province Name (full name) [Some-State]:Gyeonggi-do
Locality Name (eg, city) []:Seongnam
Organization Name (eg, company) [Internet Widgits Pty Ltd]:freestrokes
Organizational Unit Name (eg, section) []:ssl
Common Name (e.g. server FQDN or YOUR name) []:freestrokes.ssl Root CA Certificate
Email Address []:freestrokes@tistory.com

Please enter the following 'extra' attributes
to be sent with your certificate request
A challenge password []:
An optional company name []:
$ cat rootca.csr
-----BEGIN CERTIFICATE REQUEST-----
MIIBATCBpwIBADBFMQswCQYDVQQGEwJBVTETMBEGA1UECAwKU29tZS1TdGF0ZTEh
MB8GA1UECgwYSW50ZXJuZXQgV2lkZ2l0cyBQdHkgTHRkMFkwEwYHKoZIzj0CAQYI
KoZIzj0DAQcDQgAExr6QHpch6l9U2xeANPu8KF/sn6ck+YjLuq+nDHRKKL7GHxUm
etjOcGbO2CxkIlFMm6OFkjLtVMAkIUPk0RmfpKAAMAoGCCqGSM49BAMCA0kAMEYC
IQDJrhJ8AAQKas468wOdEOrolTDSPmAgqNd8MBLweulWPAIhAOOLqIz6fua8EKi3
j6+ZTdfroYez7t4X61nVXEP31234
-----END CERTIFICATE REQUEST-----
마지막으로 SSL 인증서로 사용할 crt 파일을 생성해줍니다. 인증 기간은 최대 기간인 999999일로 설정해줬습니다.
$ openssl x509 -req -sha256 -days 999999 -in rootca.csr -signkey rootca.key -out rootca.crt$ cat rootca.crt
-----BEGIN CERTIFICATE-----
MIIBiDCCAS0CFH/OARtgXCrByXoqyJWhxIng4l6cMAoGCCqGSM49BAMCMEUxCzAJ
BgNVBAYTAkFVMRMwEQYDVQQIDApTb21lLVN0YXRlMSEwHwYDVQQKDBhJbnRlcm5l
dCBXaWRnaXRzIFB0eSBMdGQwIBcNMjEwOTI4MDcwNDQxWhgPNDc1OTA4MjUwNzA0
NDFaMEUxCzAJBgNVBAYTAkFVMRMwEQYDVQQIDApTb21lLVN0YXRlMSEwHwYDVQQK
DBhJbnRlcm5ldCBXaWRnaXRzIFB0eSBMdGQwWTATBgcqhkjOPQIBBggqhkjOPQMB
BwNCAATGvpAelyHqX1TbF4A0+7woX+yfpyT5iMu6r6cMdEoovsYfFSZ62M5wZs7Y
LGQiUUybo4WSMu1UwCQhQ+TRGZ+kMAoGCCqGSM49BAMCA0kAMEYCIQCJF7u84a95
jEVoAYTbpwSpu56sk91SidAd4uud6j2uSAIhAJVW080jCFHt83yCWvTkpKKn+JAI
RsTsH2v+bs8l1234
-----END CERTIFICATE-----
1.2. mkcert를 이용한 SSL 인증서 발급
Homebrew를 이용하여 mkcert를 설치해줍니다.
$ brew install mkcert

Updating Homebrew...
==> Auto-updated Homebrew!
Updated 1 tap (homebrew/core).
==> Updated Formulae
Updated 4 formulae.

==> Downloading https://ghcr.io/v2/homebrew/core/mkcert/manifests/1.4.3-1
######################################################################## 100.0%
==> Downloading https://ghcr.io/v2/homebrew/core/mkcert/blobs/sha256:92ac9e87e65741d1cadb0372b259291dcd726fe1048715cfc993053cb62273e1
==> Downloading from https://pkg-containers.githubusercontent.com/ghcr1/blobs/sha256:92ac9e87e65741d1cadb0372b259291dcd726fe1048715cfc993053cb62273e1?se=2021-09-28T06%3A25%3A00Z&sig=%2FxPnOGXxvfEC0lRHB2xn2FDlgf3CDMBMSIEMqLKVsHg%3D&sp=r&spr=https&sr=b&sv=2019-12-12
######################################################################## 100.0%
==> Pouring mkcert--1.4.3.catalina.bottle.1.tar.gz

...
설치가 완료되면 시스템의 루트 저장소에 신뢰할 수 있는 CA(Certificate Authority)를 만들어줍니다.
$ mkcert -install

Created a new local CA 💥
Sudo password:
The local CA is now installed in the system trust store! ⚡️
Warning: "certutil" is not available, so the CA can't be automatically installed in Firefox! ⚠️
Install "certutil" with "brew install nss" and re-run "mkcert -install" 👈
The local CA is now installed in Java's trust store! ☕️
CA가 만들어지면 SSL 인증서를 생성해줍니다. 인증서는 ${CERTIFICATE_NAME}.pem 으로 생성되고 key 파일은 ${CERTIFICATE_NAME}-key.pem 으로 생성됩니다.
$ mkcert localhost

Note: the local CA is not installed in the Firefox trust store.
Run "mkcert -install" for certificates to be trusted automatically ⚠️

Created a new certificate valid for the following names 📜
 - "localhost"

The certificate is at "./localhost.pem" and the key at "./localhost-key.pem" ✅

It will expire on 28 December 2023 🗓
2. 프론트엔드에 SSL 인증서 적용하기
2.1. Node.js
Node.js 환경에서 Express를 이용하여 구성할 경우 server.js 파일을 아래와 같이 작성해줍니다. .key 파일과 .crt 파일은 server.js 파일과 같은 경로에 위치하도록 했습니다.
const express = require('express');
const http = require('http');
const https = require('https');
const fs = require('fs');

const HTTP_PORT = 8080;
const HTTPS_PORT = 8443;

const options = {
  key: fs.readFileSync('./rootca.key'),
  cert: fs.readFileSync('./rootca.crt')
};

const app = express();

// Default route for server status
app.get('/', (req, res) => {
  res.json({ message: `Server is running on port ${req.secure ? HTTPS_PORT : HTTP_PORT}` });
});

// Create an HTTP server.
http.createServer(app).listen(HTTP_PORT);

// Create an HTTPS server.
https.createServer(options, app).listen(HTTPS_PORT);
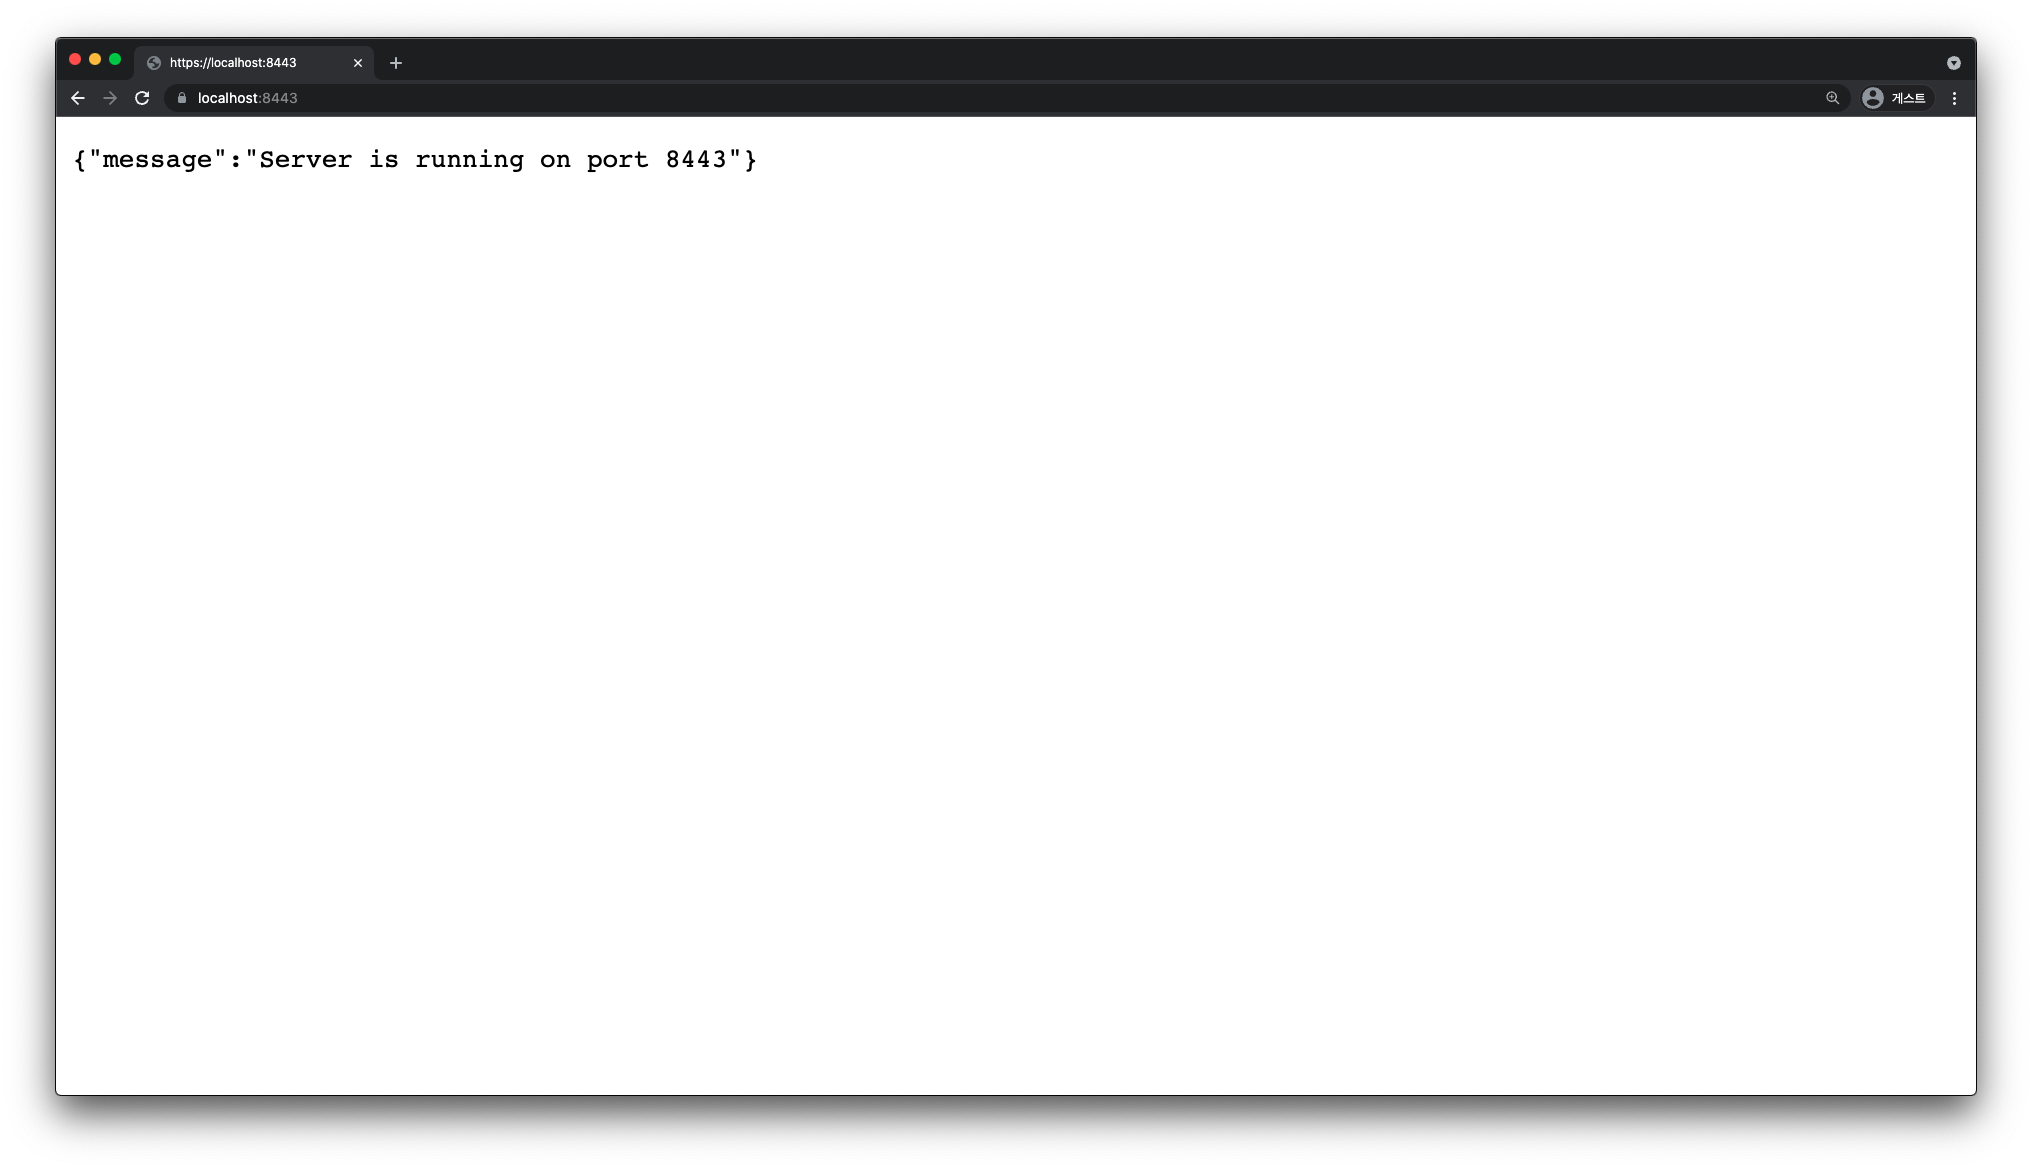
작성한 파일을 실행해줍니다.
$ node server.js
브라우저에서 HTTPS가 정상적으로 동작되는 것을 확인할 수 있습니다.
2.2. Angular
package.json에서 scripts > start 항목의 값을 아래와 같이 수정해줍니다. .key 파일과 .crt 파일은 package.json과 같은 경로에 위치하도록 했습니다.
{
  "name": "begin-angular",
  "version": "0.0.0",
  "scripts": {
    "ng": "ng",
    "start": "ng serve --ssl --ssl-key rootca.key --ssl-cert rootca.crt",
    "build": "ng build",
    "test": "ng test",
    "lint": "ng lint",
    "e2e": "ng e2e"
  },
  "private": true,
  "dependencies": {
    ...
  },
  "devDependencies": {
    ...
  }
}
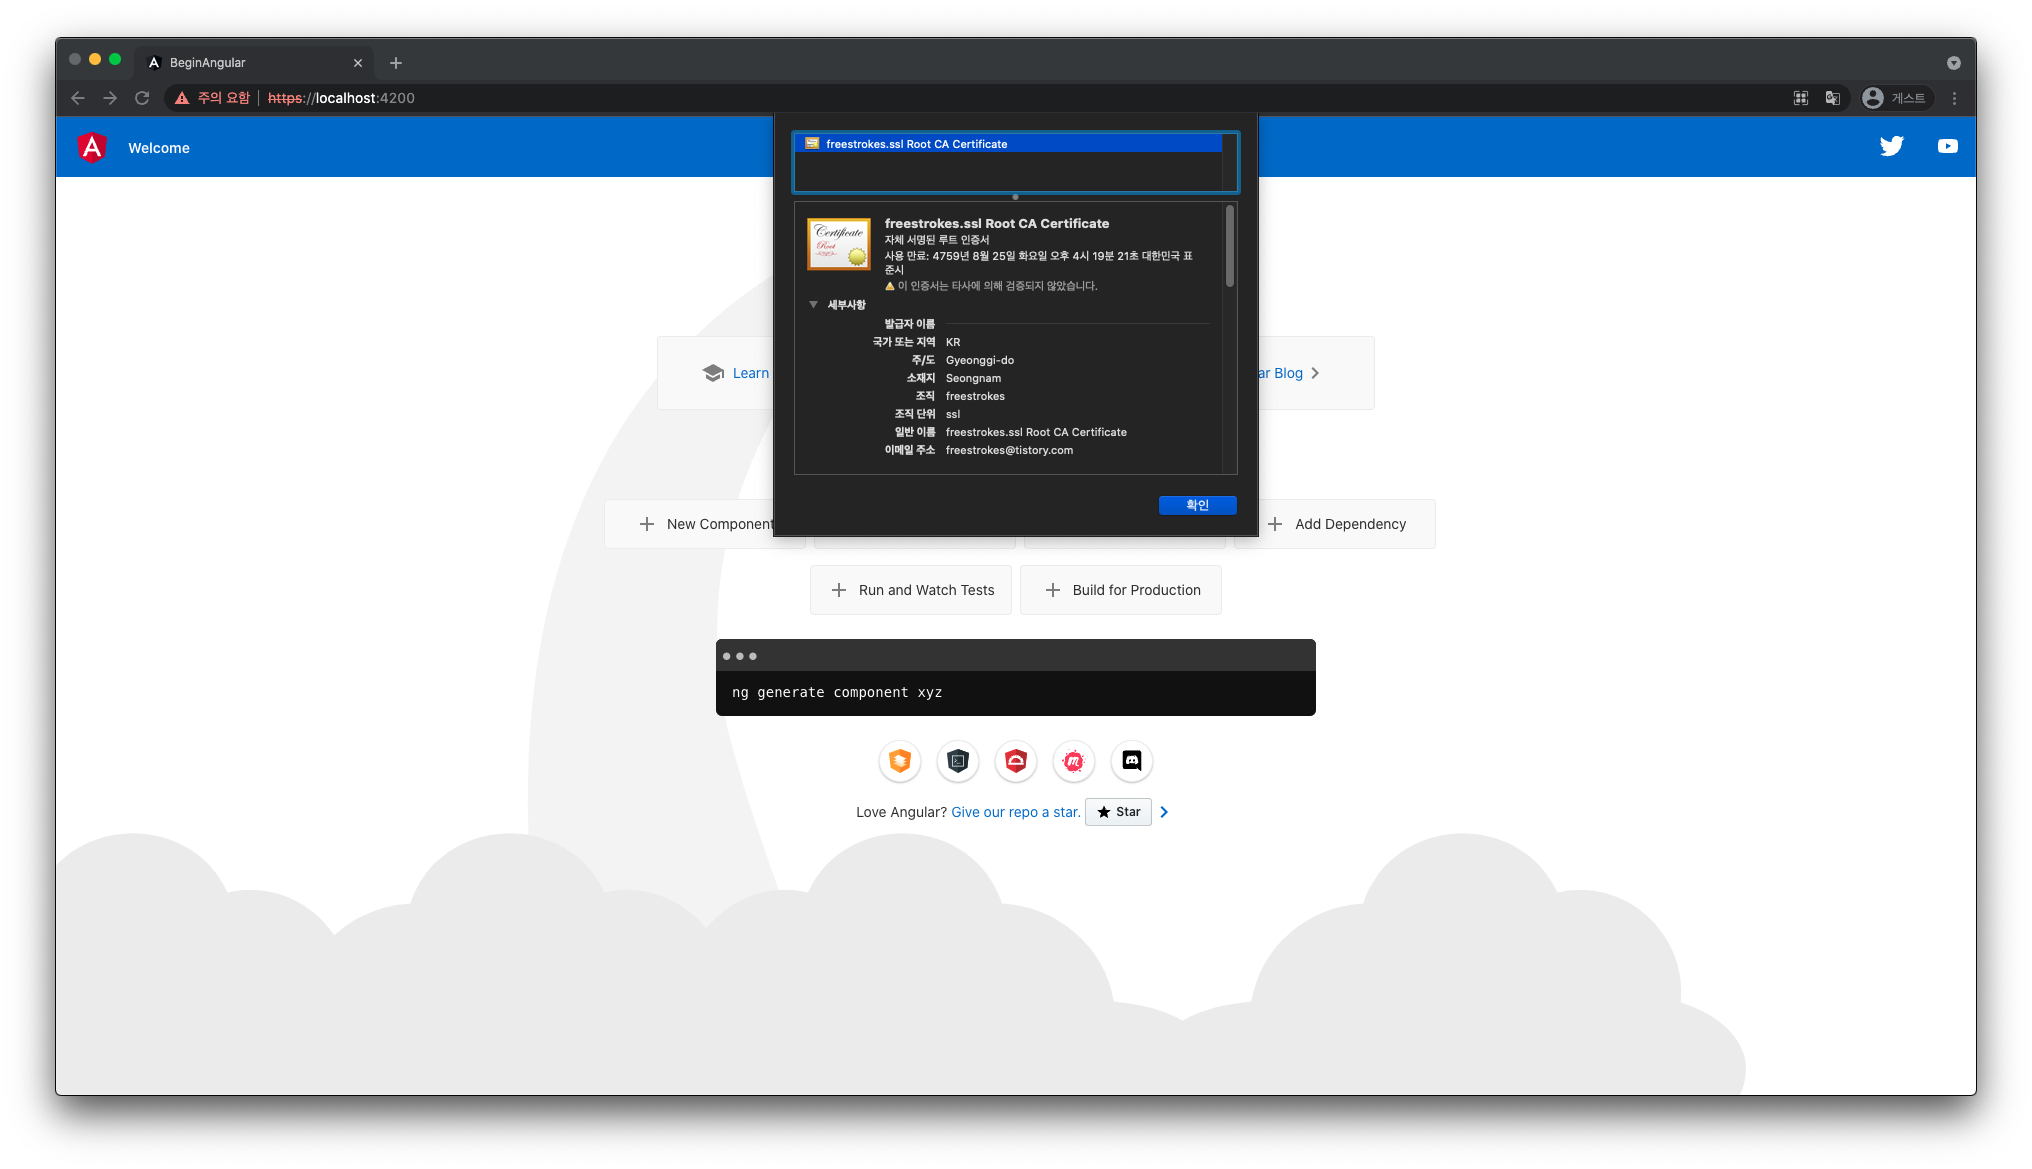
빌드 후 실행해줍니다.
$ npm install$ npm start
브라우저에서 HTTPS가 정상적으로 동작되는 것을 확인할 수 있습니다.

브라우저에서 인증서를 보면 .csr 파일을 생성할 때 입력한 정보를 확인할 수 있습니다.
2.3. React
마찬가지로 package.json에서 scripts > start 항목의 값을 아래와 같이 수정해줍니다. mkcert로 생성한 .pem 파일을 적용했고 package.json과 같은 경로에 위치하도록 했습니다.
{
  "name": "begin-react",
  "version": "0.1.0",
  "private": true,
  "dependencies": {
    ...
  },
  "scripts": {
    "start": "HTTPS=true SSL_CRT_FILE=localhost.pem SSL_KEY_FILE=localhost-key.pem react-scripts start",
    "build": "react-scripts build",
    "test": "react-scripts test",
    "eject": "react-scripts eject"
  },
  "eslintConfig": {
    "extends": [
      "react-app",
      "react-app/jest"
    ]
  },
  "browserslist": {
    "production": [
      ...
    ],
    "development": [
      ...
    ]
  }
}
빌드 후 실행해줍니다.
$ npm install$ npm start
브라우저에서 확인해보면 HTTPS로 동작되는 것을 확인할 수 있습니다.

생성한 인증서 정보도 정상적으로 확인됩니다.

이상으로 Node.js 서버에 HTTPS를 설정하는 방법에 대해 알아봤습니다.
※ Reference
- www.sslcert.co.kr, SSL 인증서 파일 포맷 종류 - crt, cer, csr, pem, der, pfx, p12, jks, key, https://www.sslcert.co.kr/guides/kb/54
- blog.bitsrc.io, Using HTTPS for Local Development for React, Angular, and Node, https://blog.bitsrc.io/using-https-for-local-development-for-react-angular-and-node-fdfaf69693cd
- www.runit.cloud, 자체 서명 사설 SSL 인증서 만들기, https://www.runit.cloud/2020/04/https-ssl.html#server.crt%20SSL%20%EC%9D%B8%EC%A6%9D%EC%84%9C%20%ED%8C%8C%EC%9D%BC%20%EB%A7%8C%EB%93%A4%EA%B8%B0